I was speaking to the lovely Sophia from
The Tattooed Tea Lady on twitter about applying nail wraps, and she mentioned I should do a tutorial post on how I apply them, so that I have decided to do! This is what works best for me and I use this method to apply nail wraps to clients. Most nail wraps, depending on the brand, will last up to 10 days on fingers and a month on toes. It varies on your fingers, depending on the type of work you do, how often you have your hands submerged in water etc. For longer term results with nail art, you can use a gel topcoat (although you have to invest in a UV lamp for this) or if you want to treat yourself, book into a nail tech and have nail art done with Calgel or a similar product. Nail wraps are a great effect but unfortunately they don't always last!
Anyway, here's how I apply them!
You will need:
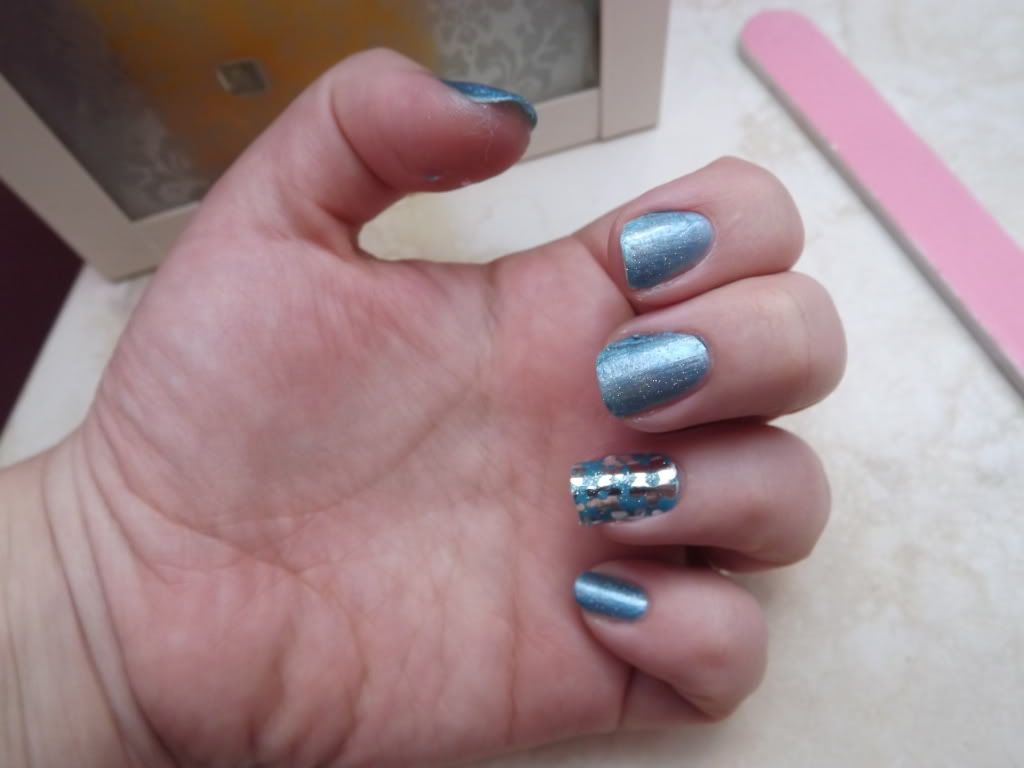
- Nail wraps of your choice; I'm using Trendy Nail Wraps which are available online or at Salon Services. The style I'm using is GN-212 Into the Blue.
- Cotton wool pads
- Some kind of nail polish remover to cleanse the nail bed. Pure acetone is best for this, however I strongly advise against using acetone if you have weak or brittle nails. I'm not using acetone at the moment because I'm unhappy with the condition of my nails.
- A regular nail file, mine is a file and buffer in one.
- A coarser grit or sapphire nail file.
- Cuticle pusher
- Tweezers
- Nail scissors
- A hairdryer
- Nail polish (optional, I'm only doing an accent nail with the wraps)
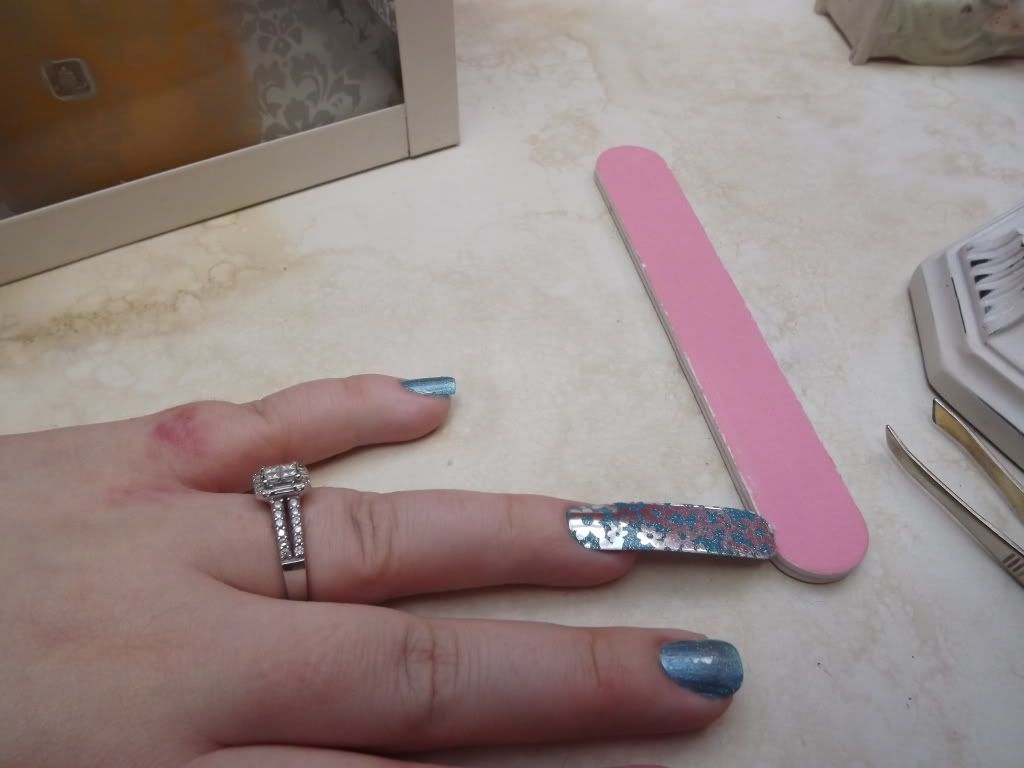
Step One - Nail Prep

You firstly want to prepare the nail you will be working with. That means filing it to shape, ensuring your cuticles are neat and tidy, cleansing it with the nail polish remover to remove any excess dirt or oils, and buffing the natural shine from it. This helps the nail wrap to adhere to the surface more easily. Note: when buffing the surface of your nail, please be careful to pull the buffer from the bottom of your nail to the top, in one direction only. Do this in a gentle movement to ensure that you do not damage your natural nail.
Step Two - Picking the Wrap

You then have to pick which wrap will best fit your natural nail. If you are lucky, you won't have to do much cutting (like me with this one!) Place the wrap (unheated) on your nail, and have a look to see how it will eventually fit. Use curved nail scissors to trim around the edges until you are happy
with how the nail wrap will fit your nail.
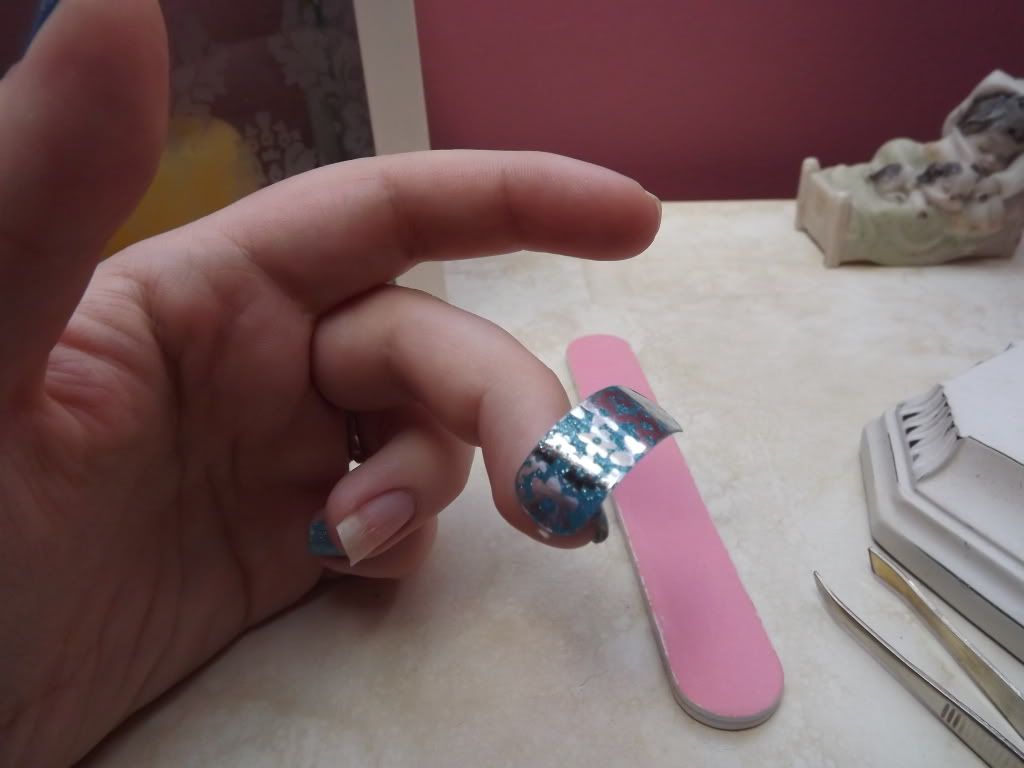
Step Three - Heating the Nail Wrap

I find that all nail wraps stick easier and last longer when they have been heated prior to application. This allows the glue on the adhesive side to become wet, therefore helping it to stick to your nail. Warning!! Be extremely careful when heating nail wraps, as they have metallic elements they become very hot quickly and can burn you easily. You should stick the wrap to the tip of your finger as shown in the picture above, and heat it until it curves as shown in the picture below. (On low heat on the hairdryer this normally takes 10-15 seconds) Once the nail wrap has become flexible like this, it is time to apply it to your nail!

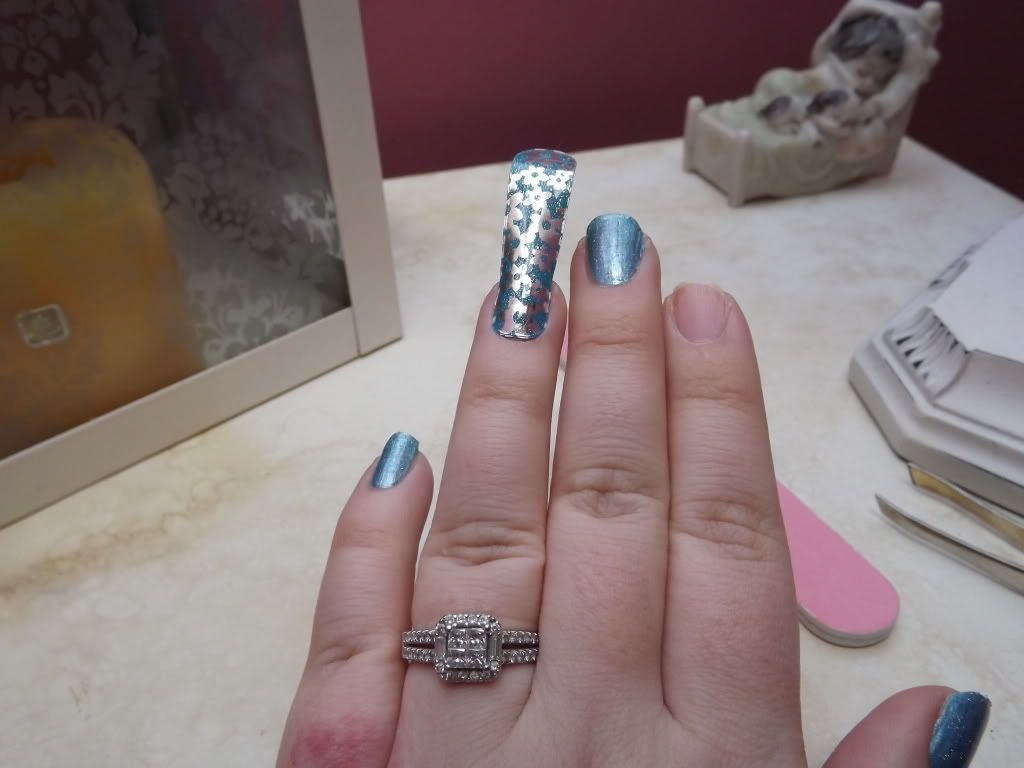
Step Four - Applying the Wrap

As quickly as you can, move the wrap onto the nail, starting from the cuticle edge. If you don't align it properly, and have to peel it off, go back to step three and reheat. Push the cuticle edge down with your finger until it sticks, then slowly press the nail wrap in an upwards motion, removing air bubbles as you go. Once you get to the top of your nail, pull the sides of the wrap down to fit with the natural curvature of your nail.
Step Five - Cutting and Shaping


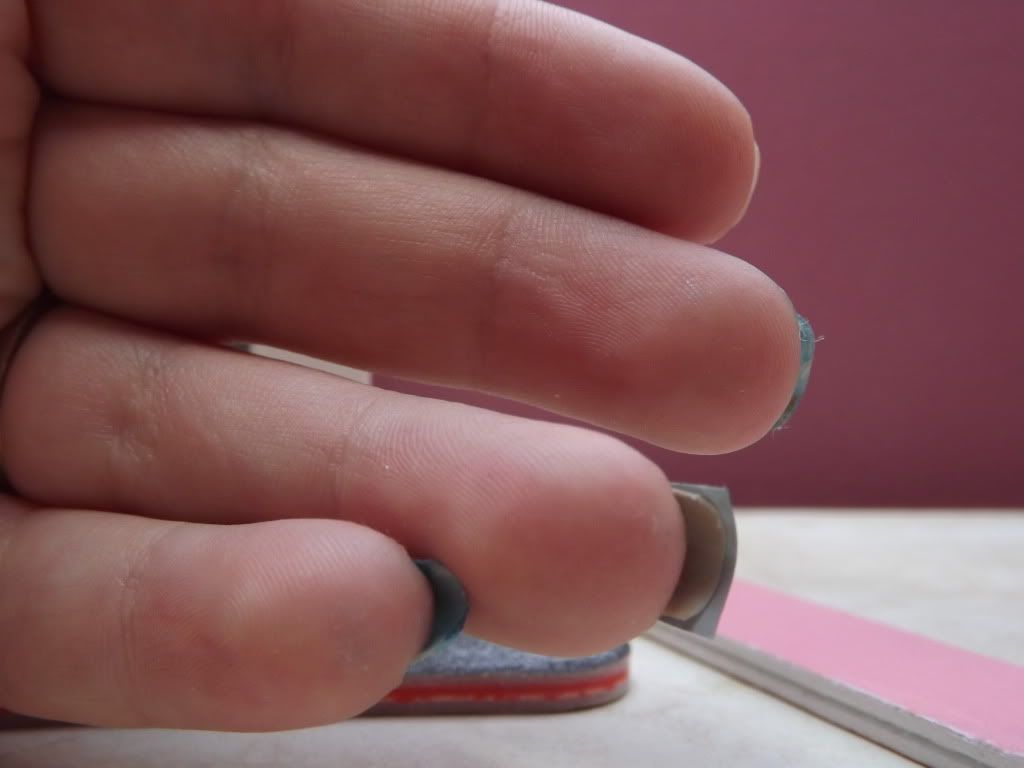
Once you are happy that your wrap is sitting flush on your nail, it's time to cut and shape it. When I do this, I cut it with about 1/4 to 1/2 a centimetre left over the top of the nail. In order to file it, fold the wrap down over the end of the nail. Use the coarser file and file away the remainder of the wrap. Do this very gently as the coarser file will damage your nail if you are too rough. You simply want to remove the excess wrap. I often find once the excess has been removed, it helps to file away any flyaway bits with a normal file, just as you would your natural nail.
And voila! You are done. Pretty nail wrap action.

Just to remind you, once the nail wrap is securely on the nail, do not put the hairdryer on it. Believe me, it will be painful!
Some tips to keep your nail wraps on
I always advise clients when they want nail wraps on their fingernails, that they are not guaranteed to last. This is just due to general wear and tear. Here is a few handy hints to keep them on a bit longer;
Get someone else to do the washing up! Prolonged contact with water will make the glue less sticky and therefore will affect how long your wraps stay in place.
Try not to pick at them, I know it's difficult and I am guilty of it too.
If you feel the edges fraying slightly or lifting, use a bit of clear nail polish underneath and that should hold them for a day or so more.
- Some nail techs will advise to put glue on the very edges of your nail when the wrap has been applied. This definitely will make them last longer, but can sometimes affect the desired look of the nail wraps and often makes them more difficult to remove.
- Keep any kind of hand cream/cuticle oil away from your nails.
Removing Nail Wraps
After about five or so days, it is likely that you will want to take them off. They will either be annoying you or (if your like me!) you will want to try out some new nail polish you've just bought. When nail wraps have been applied with heat, you must simply not just pull them off, as they can take the top layer of nail off. When removing, hold a hairdryer about 30cm away from your nails and heat gently (on low, for about 5-10 seconds) When this has been done, you should be able to slowly lift away the wrap, with a gentle movement. This will ensure minimal damage to your natural nails. Afterwards, I always recommend giving yourself a quick manicure. If anyone would like to know how I do a quick mani then let me know!
Hope this post was helpful, any questions, I will be happy to answer!
xoxo


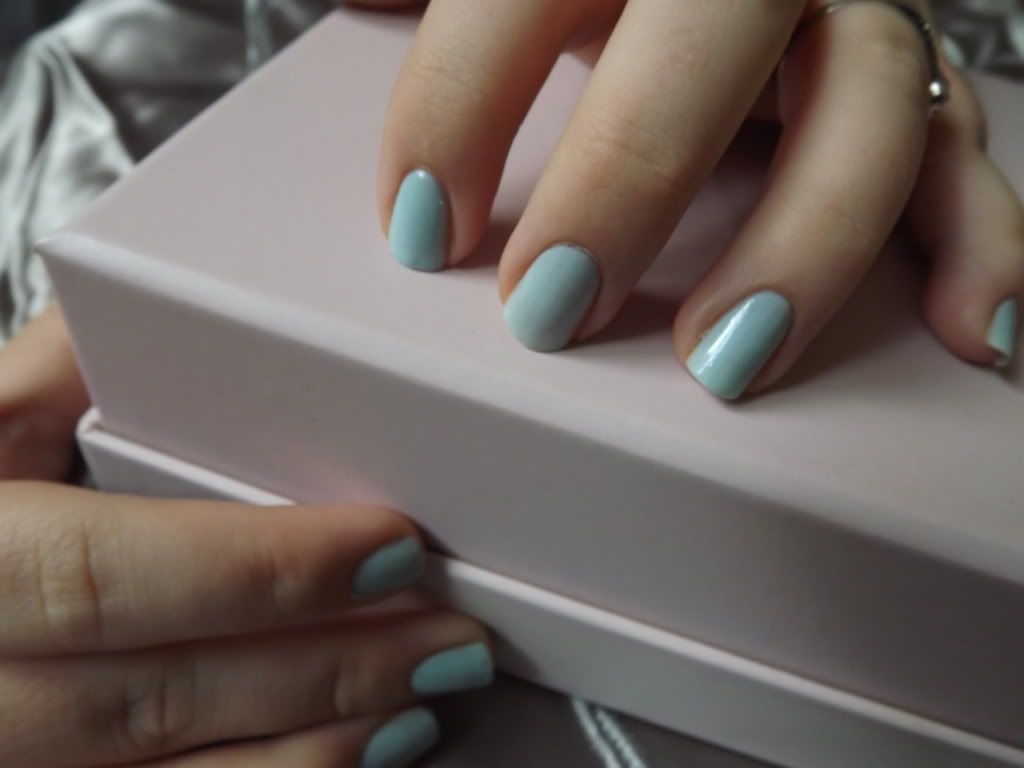
 This is the best shot I could get that shows the duo-chrome effect (sort've!)